CS 180 Project 5
Part A0: Set Up
After 20 denoising and 20 upsampling steps, here are the results:
The first image didn’t quite capture the texture of the oil painting. Instead, it looks more like a children’s cartoon.
The second image is pretty realistic. It even kept the background void since there’s no descriptions provided in the prompt.
The last image also looks cartoony, maybe due to the diction of “rocket ship” appears more frequently in describing cartoons instead of actual spaceships.
I experimented with the prompt ”a man wearing a hat” using 100, 500, and 1000 inference steps.
Interestingly, the men look different in each of the images. For the 1000 steps output, we are seeing an outdoors background, as opposed to the previous attemps that kep the background a solid color. I also observe a strange halo around the person for the 100 and 500 steps outputs.
Part A1: Sampling Loops
1.1: Implementing the forward pass
noised images at different noise levels:
1.2: Classical Denoising
Using the gaussian blur denoising method, I got the following results:
These just look like the blurry version of the noisy images.
1.3: Implementing One Step Denoising
Using the noise estimate from the unet, here are the denoised results of the 3 timesteps:
The denoised results at t=250 looks the best, presumably since it’s closer to the original image compared to the other two. On the other end of the spectrum, t=750 the denoised results still look quite blurry, and doesn’t look like the campanile much.
1.4: Implementing Iterative Denoising
Here are the steps for the iterative denoising steps:
Compared to the previous methods:
1.5 Diffusion Model Sampling
The results don’t look too great. I tried with various seeds to no avail.
1.6 Classifer-Free Guidance
Now the generations look much nicer! Here are the results:
1.7 Image-to-image Translation
test_im
Here are the results from running the iterative_denoise_cfg on the test_im
Buddist Temple
Here’s the other image I tested on (original):
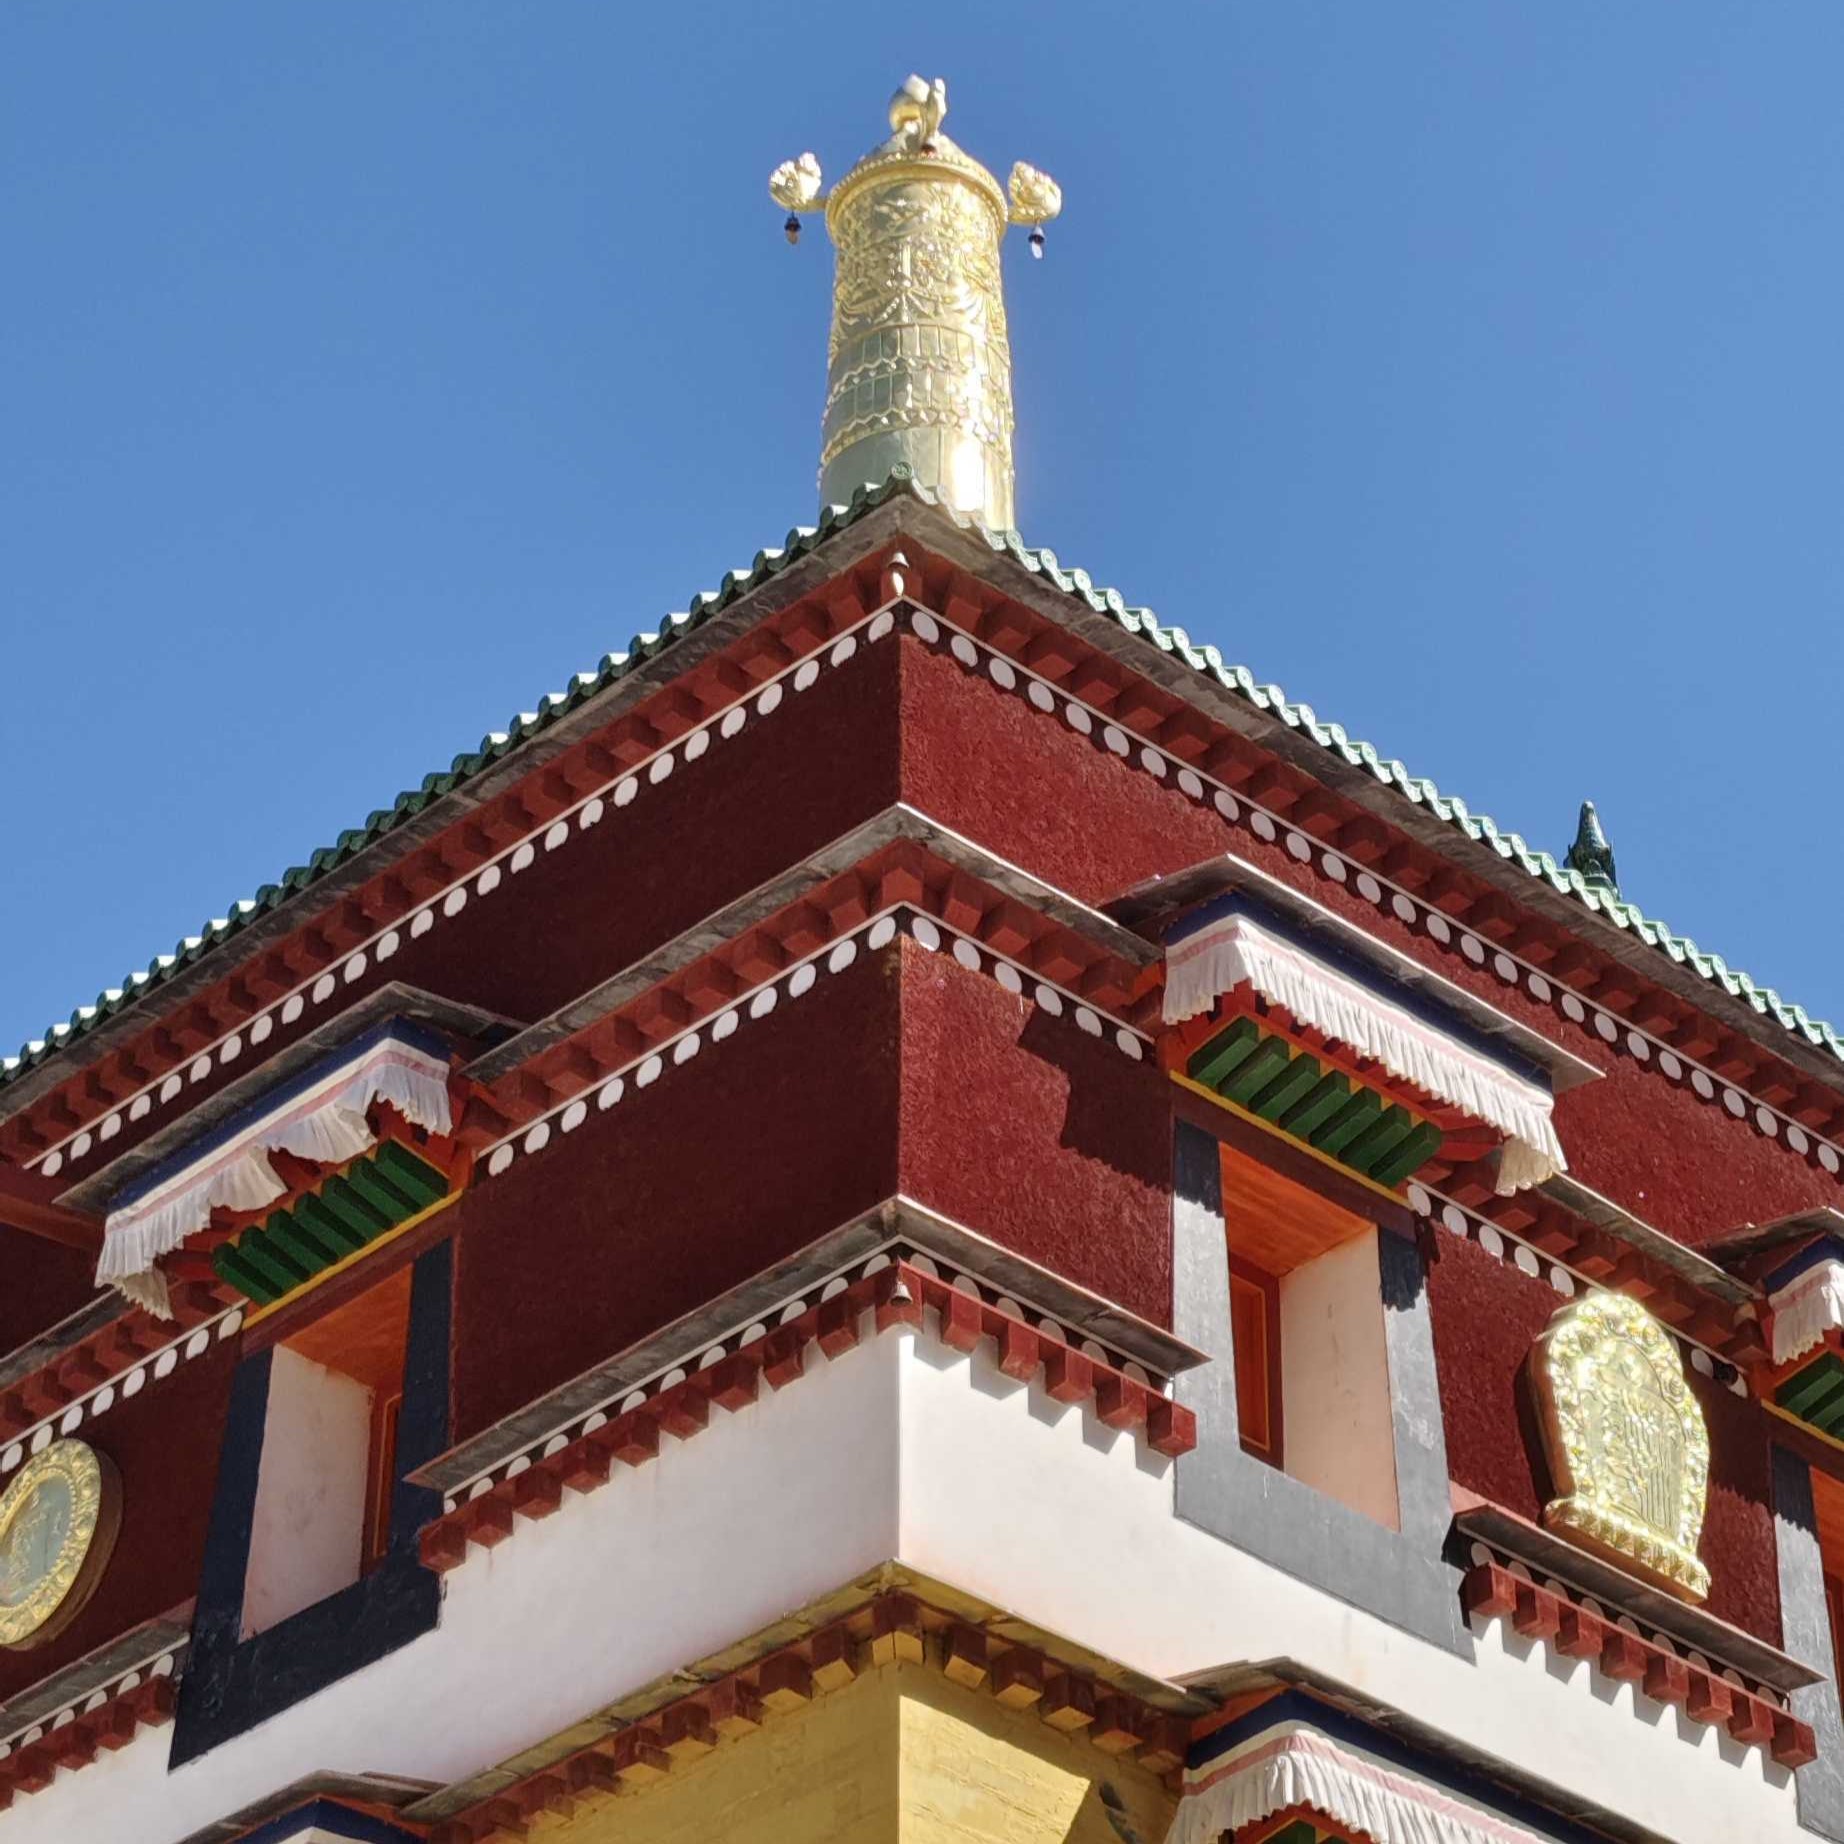
Results:
Cow
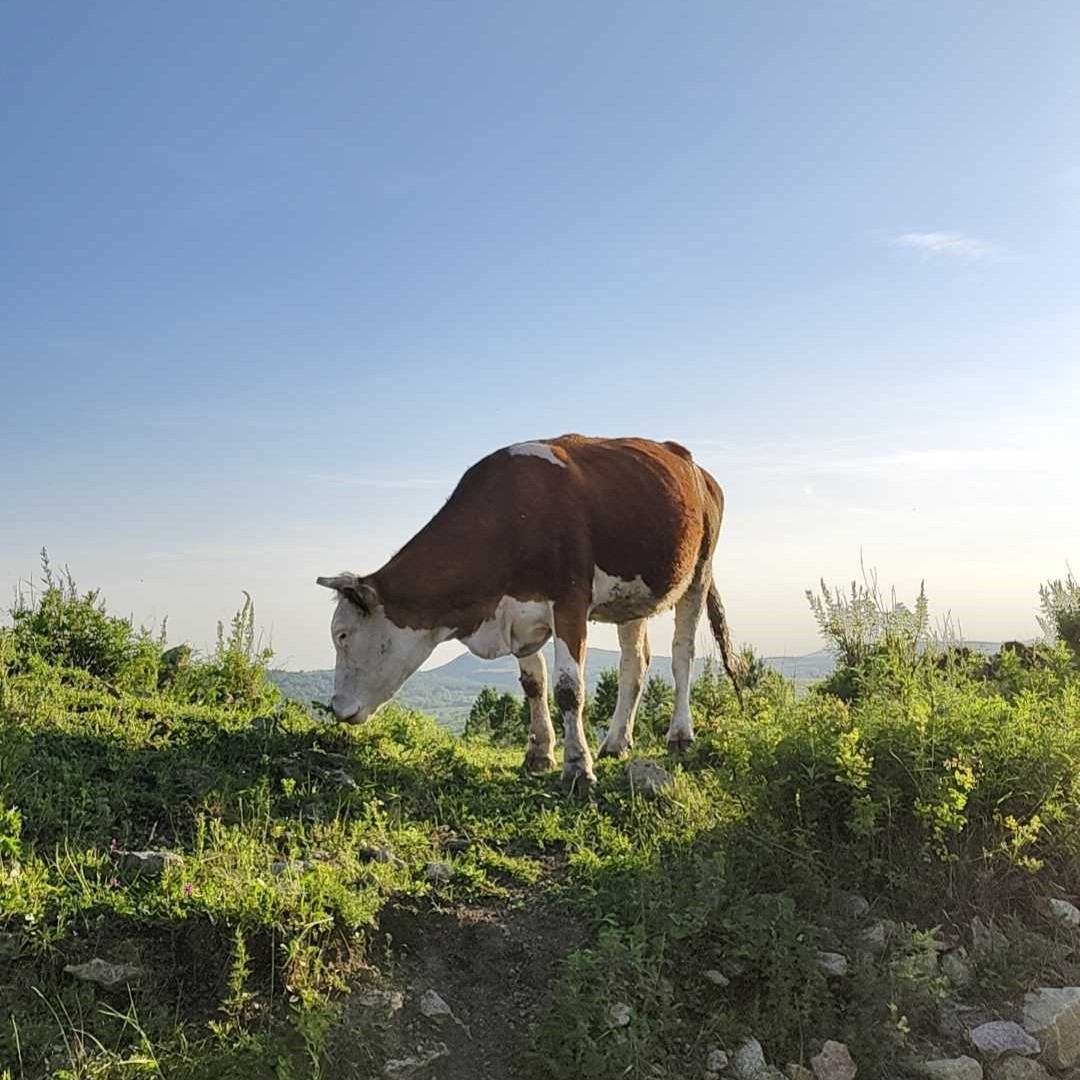
Original image:
Results:
Interesting regress at starting index 7, after starting index 5 where the center shape looking much more like the original cow .
1.7.1: Editing Hand-Drawn Images
For the Avocado:
Original:

Edited:
Hand drawn 1:

Edited:
Hand drawn 2:

Edited:
Interesting regress at start index=7, but pretty “creative”.
1.7.2: Inpainting
Test image:
Temple:
Cow:
1.7.3 Text-Conditioned Image-to-image Translation
For my own images, I’m using the cow with 2 different prompts
Prompt: a photo of a dog
The composition of this last image really closely resembles that of the original cow! So it seems you don’t need that many time steps of noise if you want the composition to remain similar
Prompt: a lithograph of a skull
1.8: Visual Anagrams
an oil painting of people around a campfire + an oil painting of an old man
a photo of the amalfi cost + an oil painting of a snowy mountain village
a lithograph of a skull + a lithograph of waterfalls
1.9 Hybrid images
High pass: an oil painting of people around a campfire
Low pass: a photo of the amalfi coast

High pass: a lithograph of waterfalls
Low pass: a lithograph of a skull

High pass: a pencil
Low pass: a rocket ship

Part B1: Training a Single-Step Denoising UNet
1.1 - 1.2 Implementing the Unet & Training a Denoiser
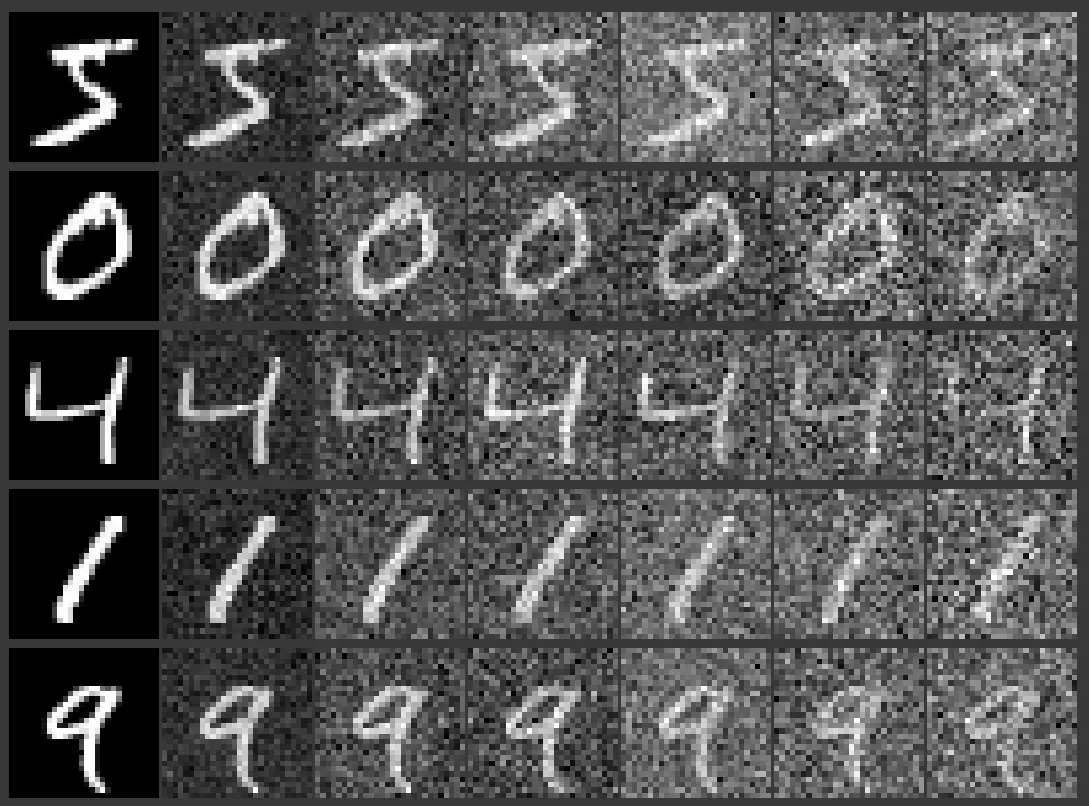
In order to get noised images, I sample from randn. Here are the noised images:
1.2.1 Training
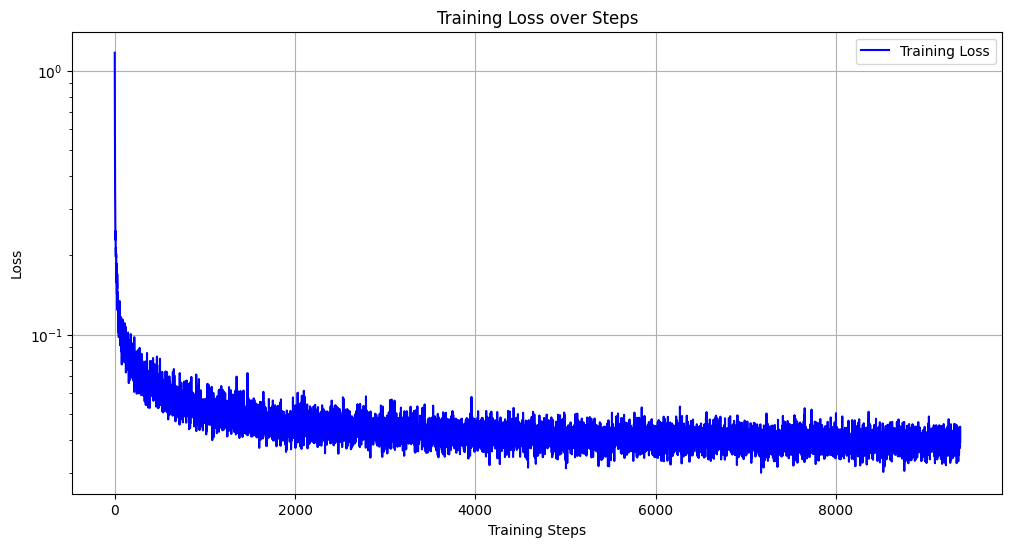
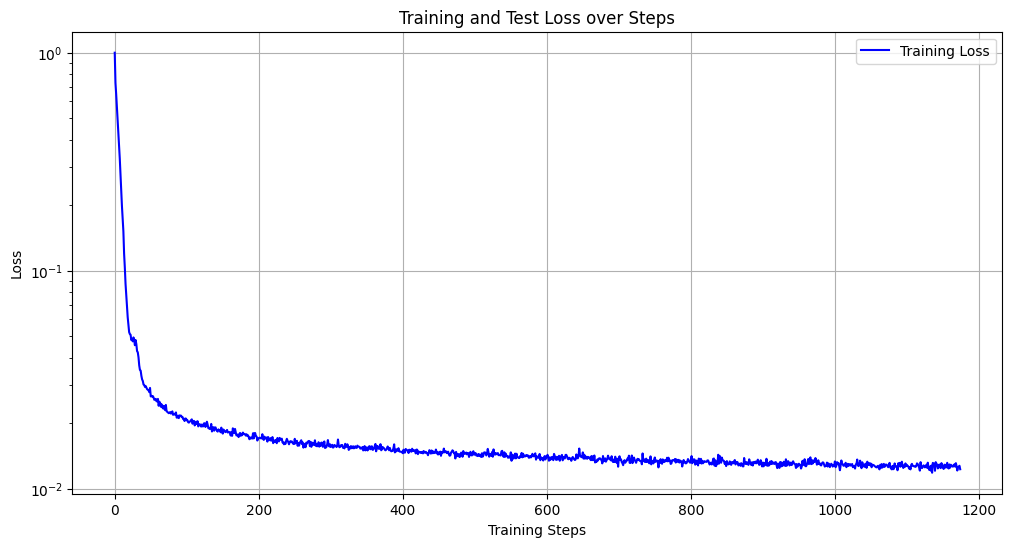
Loss graph of training batches:
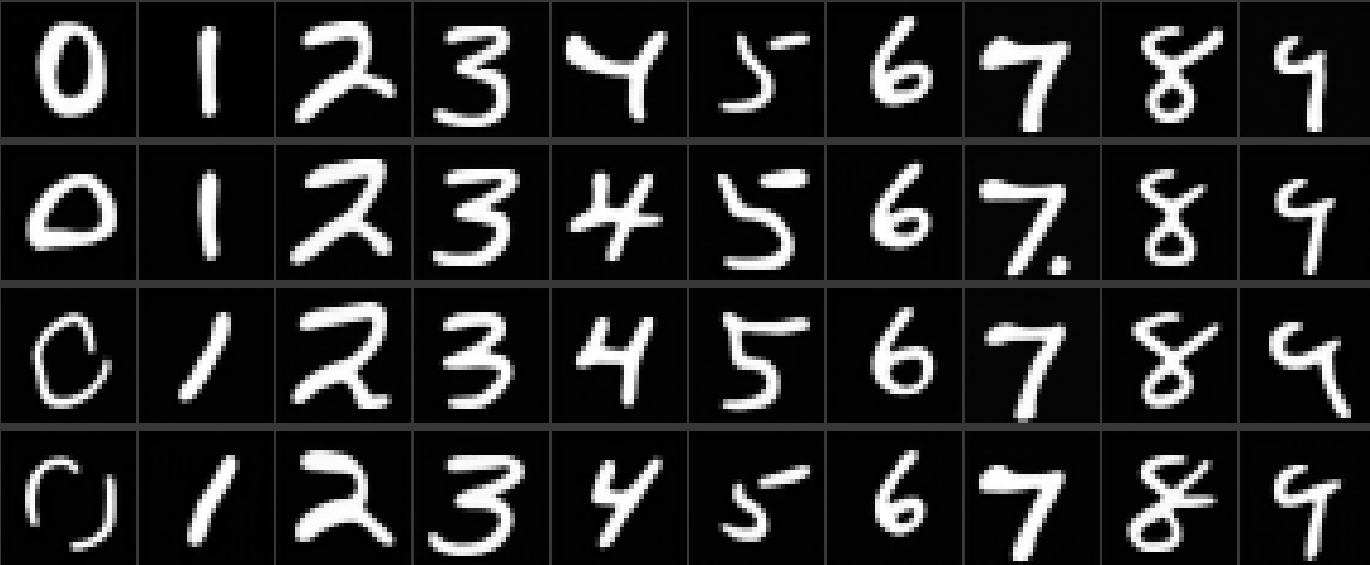
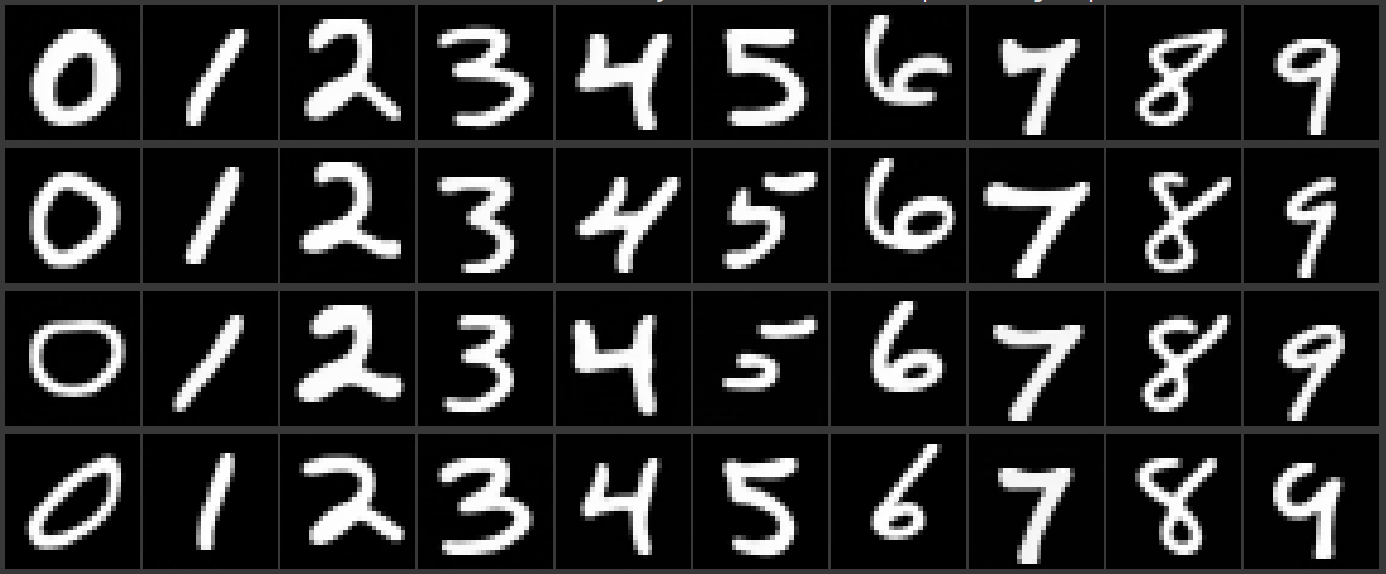
Some results


1.2.2 Out-of-Distribution Testing
here are the results for OOD with different sigmas:

Part B2:
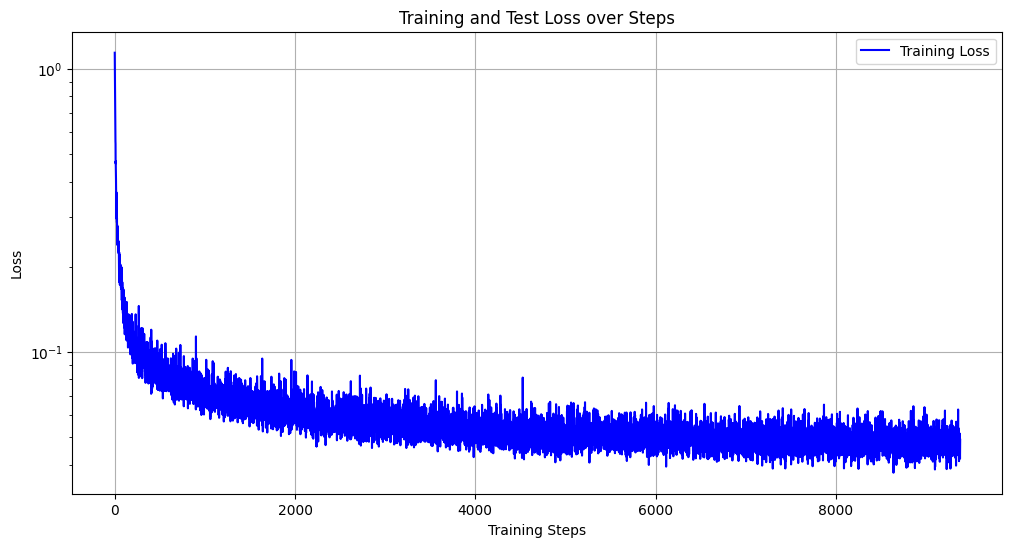
2.1 - 3: Time Conditioning to UNet


2.4: Add Class Conditioning to UNet
